
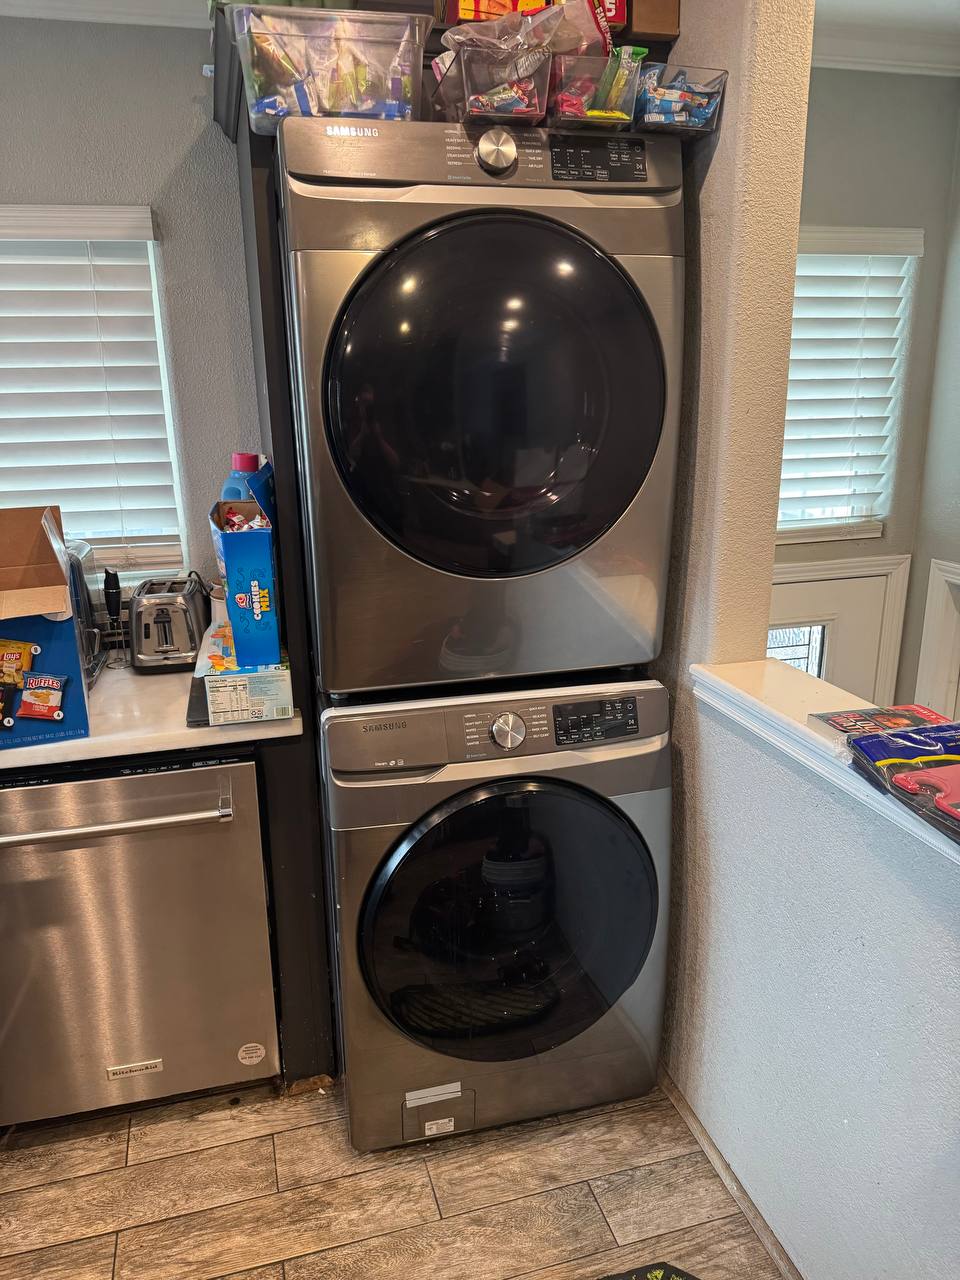
A lot of washer and dryer failures are maintenance failures with a delay built in. The coin trap that hasn’t been opened since the machine was installed, the dryer pushing air through a duct half packed with lint, the rubber supply hoses that were old when the previous owner moved out. None of it breaks today. It breaks in eighteen months, usually on a Sunday.
Here’s the split: what to do monthly, at the change of seasons, and once a year, and what’s better left to a technician. If you only want the front-load gasket and mold routine, that’s already written in detail: front-load washer drum and door gasket cleaning.
The calendar at a glance
Every load: clean the dryer lint screen.
Monthly: wipe the washer gasket and detergent drawer, run a hot cleaning cycle, wipe the dryer’s moisture sensor strips.
Every few months: empty the front-loader coin trap, check the outside exhaust flap with the dryer running, look behind both machines at hoses and duct.
Yearly: check level and feet, retire rubber supply hoses at about five years, time a normal dry cycle and write the number down.
Washer: what you should do
Coin trap and drain pump filter (front-loaders)
Most front-loaders have a small access door at the bottom front. Behind it is the drain pump filter, which everyone calls the coin trap because that’s what ends up in it: coins, hair ties, underwires, the occasional sock. Unplug the washer, towel down, shallow pan under the cap, unscrew slowly. Clean it and screw it back in. Every two to three months is enough for most households; if the washer has had a slow drain or a drain error, open it before anything else. Top-loaders generally don’t have a user-accessible trap.
Gasket, drawer, and the door
After the last load of the day, fold back the rubber boot seal, wipe the inner lip dry, and leave the door ajar. The detergent drawer comes out on most models and rinses in the sink. Once a month, run the hot cleaning cycle (Tub Clean, Self Clean, Clean Washer, the name varies) with a cleaner tablet or bleach, never both.
Detergent dosing and HE
Too much detergent is the most common self-inflicted washer problem. HE machines use a fraction of the water an old top-loader did, so they need HE detergent and usually less of it than the cap line suggests. Oversudsing leaves residue in the drum, the boot, and the drain path, and that residue is what mold feeds on. Start below the line and go up only if clothes come out dirty.
Leveling and shaking
A washer that walks or bangs on spin is either unlevel or has a suspension problem. Check the easy one first: bubble level on top, all four feet touching the floor, lock nuts tight so the feet can’t back out. On stacked units, make sure the stacking brackets are tight and the dryer doesn’t rock on its own. If it’s level and still slams on every spin with a balanced load, that’s shocks, springs, or a worn drum bearing. A grinding noise on spin that gets worse week over week is the bearing. Don’t keep running it.
Hoses
Twice a year, pull the machine forward and look at the supply hoses. Bulges, cracks near the crimped fittings, rust, or dampness at the connection mean replace now. Rubber hoses are rated for about five years, and manufacturers generally say to replace them on that schedule regardless of appearance; braided stainless steel is the standard upgrade. Check that the drain hose is seated in the standpipe and not kinked.
Dryer: what you should do
Lint screen, every load
Not most loads. Every load. Every few months, wash the screen with warm water and dish soap: dryer sheets leave a film you can’t see, and if water beads on the screen instead of passing through, it’s coated.
Drum and moisture sensor
Inside the drum, usually just below the door opening or on the back wall, are two thin metal strips. That’s the moisture sensor. Dryer-sheet residue coats them too, and a coated sensor either reads clothes as dry and stops early or misses the signal and runs long. Once a month, wipe the strips with rubbing alcohol on a cloth, and wipe the drum while you’re in there.
The exhaust flap outside
With the dryer running, go outside to the vent hood. The flap or louvers should swing fully open and you should feel a solid push of warm air. A flap that barely moves, a mat of lint on the hood, or a bird’s nest behind it means the duct is restricted. Clear the hood by hand.
Keep the path short and rigid
Every foot of duct and every elbow adds resistance. Rigid or semi-rigid metal duct is right; foil accordion hose crushed behind the dryer is wrong, and it’s where lint collects first. When you push the dryer back, make sure the transition hose isn’t kinked against the wall.
Long cycles are the warning sign
A dryer that used to finish a load in one cycle and now needs two has a restricted vent, a coated moisture sensor, or a heat side that’s starting to fail (element, thermostat, or on gas dryers the igniter and valve coils). Do the free checks first: screen, sensor strips, outside flap. If cycle times don’t recover, it’s either the duct or the machine, and that’s the point to stop guessing. If the dryer isn’t heating at all, our gas dryer not heating post walks through what fails and in what order.
What to leave to a technician
Anything behind the front panel of a washer: gasket replacement, drain pump, shock absorbers, drum bearings, door lock assemblies, control boards. Not because it’s dangerous, but because it’s easy to get wrong in a way that leaks.
The dryer’s heat side: heating element, thermal fuse, high-limit and cycling thermostats, gas igniter and valve coils, belts, idler pulleys, drum rollers and bearings. A thermal fuse blows because the dryer overheated once, and the usual reason is restricted airflow. Replacing the fuse without fixing the airflow just schedules the next one.
Any gas connection. A gas dryer that’s been moved or worked on near the valve needs a proper leak check before it goes back into service.
The dryer vent, straight
ADRIUM doesn’t offer dryer vent cleaning. We repair the appliance side of the dryer. A badly restricted vent is a fire risk: lint is fuel and the heating element is the ignition source. If your duct runs long, has several elbows, hasn’t been cleaned in years, or the outside flap barely moves with the dryer on, book a dryer vent cleaning company.
When we’re on a call and the vent is the real problem, we’ll tell you straight and repair what’s ours (the fuse, the element, the sensor) once the airflow is fixed. A repair on a dryer that’s still choking won’t last.
When to call
On the washer: leaks from underneath, grinding on spin, a drain error that comes back after you’ve cleaned the trap, a door that stays locked. If you’re weighing repair against replacement on an older unit, our rule of thumb for whether a washer is worth repairing is the honest version.
On the dryer: no heat, stops mid-cycle, a burning smell that isn’t a stray sock, a drum that won’t turn, a squeal that gets louder as it warms up.
The diagnostic is $99 and it’s credited toward the repair, so it works out to a $0 service call with a completed repair. You get a written estimate after the diagnosis and before any work starts. Appliance repairs carry a warranty from 3 months to 2 years depending on the type of repair. Same or Next-Day Service for appliance visits across the Bay Area, and we return calls within 10 minutes during business hours, 7 AM to 7 PM, seven days a week. Owner-operated. Andrew stands behind every job: the work, the invoice, and the warranty. Details and booking are on the washer and dryer repair page.